
5 Effortless steps in fixing WordPress "Failed to write a disk file"
The most ideal content for your website has just been developed. You're prepared to upload the most wonderful post picture and look at it: "Upload Failed to Write File to Disk." So frustrating it may be, in fact, in most instances, it's not too hard to solve it. Until you have access to the website's root directories, there can be little effort.How does "Write failure" error occur?
In most cases, wrong folder permissions result in the inability to write to the disk. This leads to the assumption that WordPress can not write documents in the folder. This can be triggered by poor plugins or a significant shift in your server hosting.
Some hacker attacks can also alter directory permissions, allowing them direct access to their own installation files. This is often the event when a "phishing" Web site is inserted into the folders in a script that overrides these permissions.
In any case, here are steps to fix the "disk file failure" issue and restore the permissions for your folder.
Step 1: Using FTP Client Software Like FileZilla
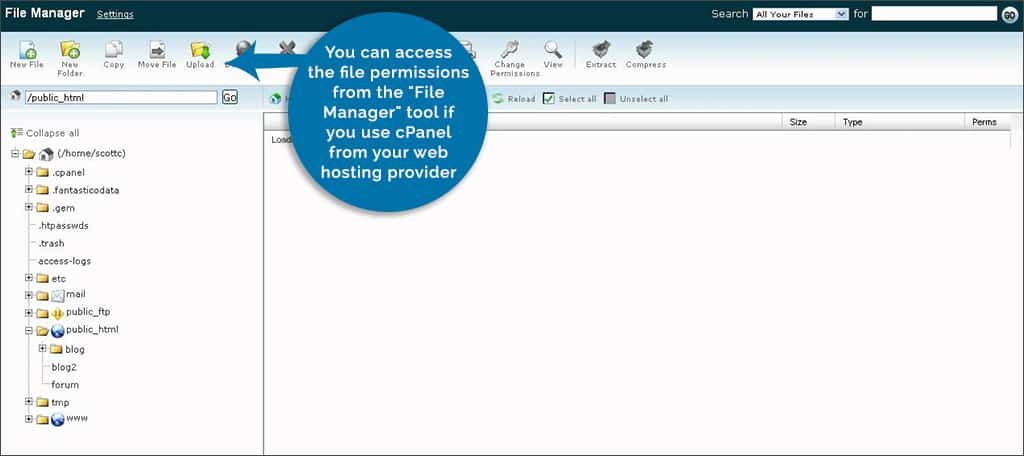
You need FTP client software to alter the folder allowances of your website. Filezilla is one of the most popular ones. This is a free and simple to use application. Dreamweaver is a different one, or you can use your internet hosting provider to access file permissions in the "File Manager" instrument.
NOTE: For the software, you need your FTP web host login credentials. You will have to contact the hosting business if you do not understand this data.
Step 3: Change the Folders Numerical Value
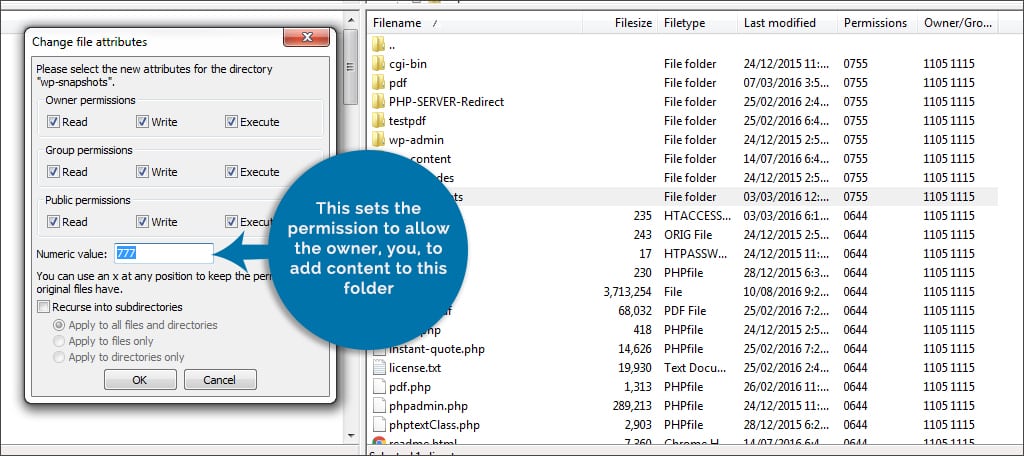
Find in this fresh window the text box marked' Numeric value' which allows the proprietor to add the content of this folder by changing the number in this sector to' 755' Some individuals will try to put "777," which could allow you to access. It will, however, also open the site for others to access these folders. The numerical value should not be modified to 777 unless the scheme is tested momentarily.
Step 4: Modification of file numerical value

Now it is time to check that the files are correctly set because the folders are re-fixed. To alter them permissions again, right-click on the wp-contents folder.
You must also redirect to the subdirectories in the numerical sector to "644." This moment, though, you will pick the "Apply only to your files" option. Filezilla will do the remainder once you click "Ok."
Step 5: Check the directory of temporary files
You must be able to upload pictures and documents to WordPress once file permissions have been set. If the temporary file directory can not still be uploaded. During file transfers, WordPress utilizes the temporary PHP file folder. In this case, your website host needs to be contacted so that this directory is emptied. This is often a hidden place, and Filezilla or any other FTP program may not give you access to this region.Site protection by plugins
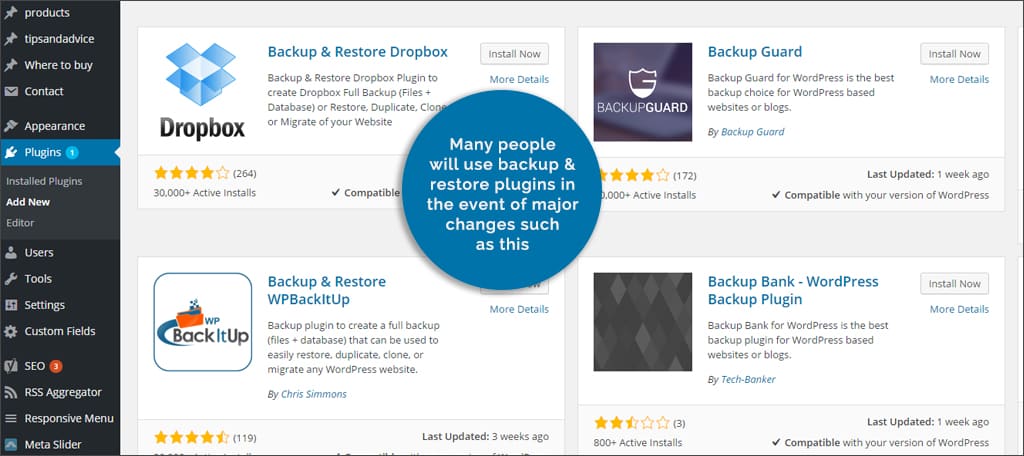
In case of major changes like this, many individuals will use backup and restore plugins. In some cases, it may not be practical simply because the restoration of the whole website will take time. However, in the case of a more serious catastrophe, it is an outstanding choice. Security measures for preventing mistakes, such as these from internal sources, are always a good practice.
There are many things that can modify your website's folder permissions and cause a "disk file failure." You can even identify a plugin that causes the problem in some cases. But scanning the website for malware may not be a poor idea. It is better to be at the mercy of a warning than to have a warning.
Don't Miss: 5 key Security features to protect your site now!
Don't Miss: 5 key Security features to protect your site now!
0 Comments